


A dark, slick oil spot on an otherwise clean driveway is more than just an eyesore. Over time, automotive fluids actively degrade the structural integrity of concrete and asphalt, binding with the porous material and weakening the substrate. If left untreated, these spots attract dirt, track into your home, and eventually cause the surface to crumble.
Successfully lifting these stubborn spots requires more than a quick rinse with a garden hose. This Complete Guide To Driveway Pressure Cleaning Oil Stain Removal from the team at Golden Choice Pro-Wash explains the science behind oil penetration, how to properly prepare the surface, and the exact steps required to restore your driveway safely and effectively.
Why Oil Stains Are So Difficult to Remove
Concrete behaves much like a hard sponge. It is highly porous, filled with thousands of microscopic voids and capillary tracts that easily draw in liquid contaminants. When motor oil, transmission fluid, or grease drips onto the driveway, gravity pulls the fluid deep into these pores.
As the oil sits, it undergoes chemical changes, oxidizing and hardening within the concrete matrix. Simply spraying high-pressure water onto the surface will only blast away the top layer, leaving the deeply embedded oils untouched. To achieve a thorough clean, you must chemically break down the bond between the oil and the concrete before applying pressure.
The Danger of Using Too Much Pressure
A common mistake homeowners make is attempting to compensate for a weak cleaning agent by turning up the pressure on their machine. Using excessive force can easily etch the concrete, strip away the smooth finish, and expose the aggregate underneath. Once concrete is etched, the damage is permanent, making the surface even more porous and susceptible to future staining.
Step 1: Absorbing the Fresh Excess Oil
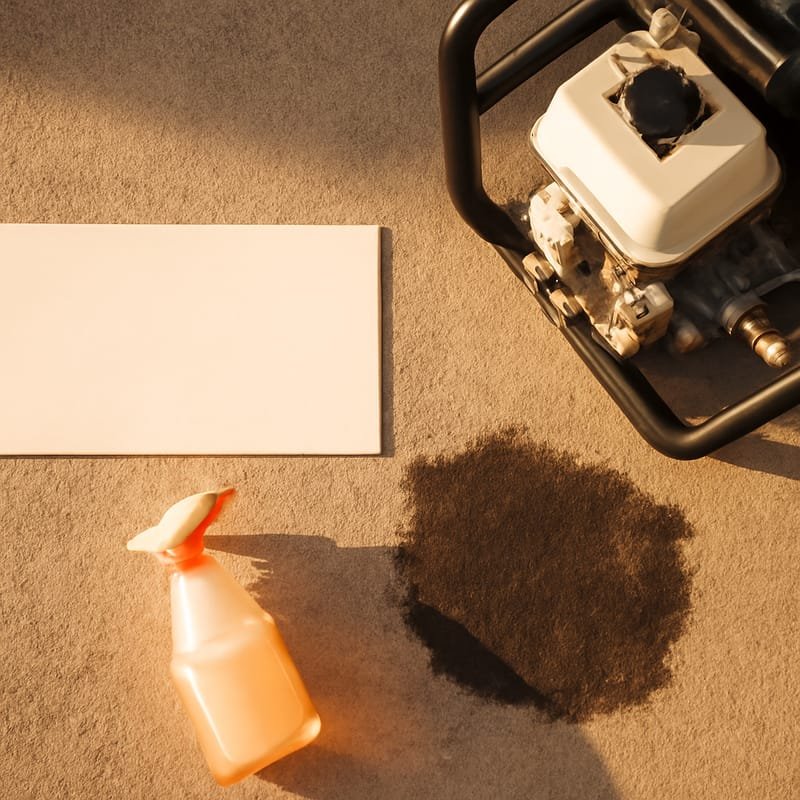
Before introducing any water or liquid cleaners to the area, you must address any wet, pooling oil. Introducing water to fresh oil without an absorbent will only spread the stain across a larger surface area.
- Apply an absorbent material: Generously cover the wet spill with cat litter, baking soda, or a specialized clay absorbent.
- Let it sit: Allow the material to sit for at least 30 minutes to draw the liquid oil up out of the pores.
- Sweep and discard: Sweep up the saturated powder and dispose of it in accordance with local environmental regulations.
Step 2: Selecting the Right Chemical Degreaser
Water and oil naturally repel each other, which is why a professional-grade degreaser is essential to this Complete Guide To Driveway Pressure Cleaning Oil Stain Removal. The degreaser acts as an emulsifier, breaking down the complex hydrocarbon chains of the oil into smaller, water-soluble molecules.
For older, dried stains, look for a heavy-duty, biodegradable concrete degreaser or a microbial cleaner. Microbial cleaners contain active enzymes that literally digest the organic hydrocarbons over time, making them highly effective for deep-set spots. Apply the chemical to the dry concrete, scrub it thoroughly with a stiff-bristled brush, and let it dwell for 15 to 20 minutes without allowing it to dry out.
Step 3: The Pressure Cleaning and Extraction Process
Once the chemical degreaser has emulsified the oil, it is time to wash the residue out of the concrete pores. This is where professional equipment and proper technique make all the difference.
Utilizing Hot Water and Surface Cleaners
Cold water pressure washers struggle to lift oil because cold water hardens grease. Industry research shows that hot water pressure washing is far more effective, as the heat melts the bound grease, allowing the emulsifiers to work deeper into the concrete. Additionally, using a specialized walk-behind surface cleaner rather than a standard wand ensures even pressure distribution and prevents unsightly zebra striping.
The Correct Washing Technique
If you are using a standard spray wand, keep the nozzle at a consistent 25-degree or 40-degree angle, holding the tip at least 12 inches away from the concrete surface. Sweep the wand back and forth in smooth, overlapping passes to ensure uniform cleaning. Always rinse the emulsified oil toward a safe drainage area, taking care to protect nearby lawns and landscaping from chemical runoff.
The Hidden Challenge: Shadowing and Ghost Stains
Even after executing every step of this Complete Guide To Driveway Pressure Cleaning Oil Stain Removal perfectly, you may still notice a faint, dark outline of the original spot. This is known as “shadowing” or a “ghost stain.”
Ghost stains occur because the oil has permanently altered the color of the concrete aggregate beneath the surface, or because the rest of the driveway is still covered in a thin layer of everyday atmospheric grime. To resolve shadowing, the entire driveway must be pressure washed evenly to blend the clean spot with the surrounding concrete. For highly stubborn shadows, a secondary application of a deep-penetrating poultice may be required to draw out the last remaining microscopic particles.
Protecting Your Driveway After Stain Removal
Once your driveway is clean and dry, taking preventive steps will make future maintenance much easier. Experts recommend applying a high-quality silane or siloxane-based penetrating sealer to the clean concrete. This sealer penetrates deep into the pores, creating a hydrophobic barrier that repels water, salt, and automotive fluids, preventing them from soaking into the concrete next time a leak occurs.
If you are dealing with stubborn, deep-set oil stains that refuse to budge, the experienced team at Golden Choice Pro-Wash is here to help. Contact us today to schedule a consultation and restore the beauty and safety of your concrete surfaces.